hello friends of the casetta !! today I keep you company with the tutorial of my card with the sweet protagonist Ariel
Ciao amici della casetta! Oggi vi tengo compagnia con il tutorial della mia card con protagonista la dolce Ariel
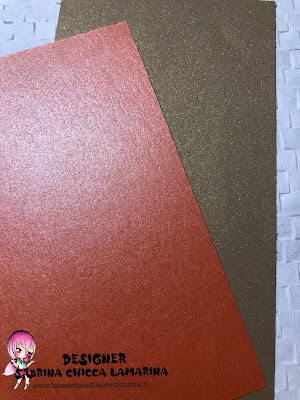
I used Ariel already digitally colored (on the Etsy shop, upon purchase you will receive both the coloring image and the already colored ones!). I digitally created and printed the sentiment. I cut out a few pieces of glitter paper and glued and assembled everything, inserting the chipboard under the sentiment banner to make it stand out.
Ho utilizzato Ariel già colorata in digitale ( sul negozio Etsy , all’acquisto riceverete sia l’immagine da colorare sia quelle già colorate!) . Ho realizzato in digitale e stampato il sentiment . Ho ritagliato alcuni pezzi di carta glitterata e ho incollato ed assembleato il tutto, inserendo del chipboard sotto il banner del sentiment per farlo risaltare .
I cut out another piece of orange glitter paper and glued two pieces of chipboard and glued it underneath to create a relief ... I usually cut the underlying paper 1 cm more than the upper one, but in this case I have decided to cut only a strip to build a raised and out of phase base of my card!
Ho ritagliato un altro pezzo di carta glitterata arancione ed ho incollato due pezzi di chipboard e l’ho incollato sotto per creare un rilievo ... solitamente ritaglio la carta sottostante sempre di 1 cm in più rispetto a quella superiore, ma in questo caso ho deciso di ritagliare solo una striscia per costruire una base rialzata e sfasata della mia card!
Finally I created the dots with the Nuvo Tonic and I inserted two gold sequins next to it and my card is ready !!
Infine ho creato i dots con i Nuvo Tonic ed ho inserito accanto due paillettes color oro e la mia card è pronta!!
I used:
Paper
Glue Nuvo
Nuvo Crystal drops
Chipboard
Pailettes/ sequenza gold
Xoxo


Nessun commento:
Posta un commento